


An organized space is a creative space. If you’ve ever wasted time digging through bins of tangled supplies or felt too overwhelmed to start a project, then it’s time to rethink your setup. Smart craft room organization can transform your creative experience. It helps you find what you need, makes your space more inspiring, and ensures every inch works for you.
In this guide, we’ll explore creative ideas, smart storage hacks, and layout strategies to help you organize your craft room like a pro—no matter how big or small your space is.
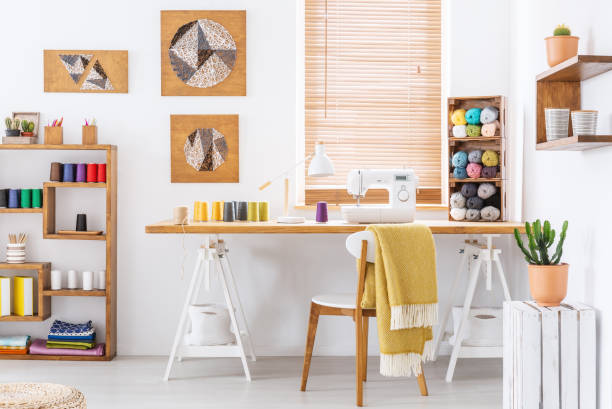
Table of Contents
Why Craft Room Organization Is Essential
Great craft room organization is more than just neat shelves—it’s about efficiency and inspiration. When your materials are organized, you save time and reduce stress. You also feel more motivated to sit down and create because your space is inviting, not chaotic.
Whether you’re an avid scrapbooker, a sewing enthusiast, or a DIY addict, your creative zone should reflect your style while keeping everything accessible.
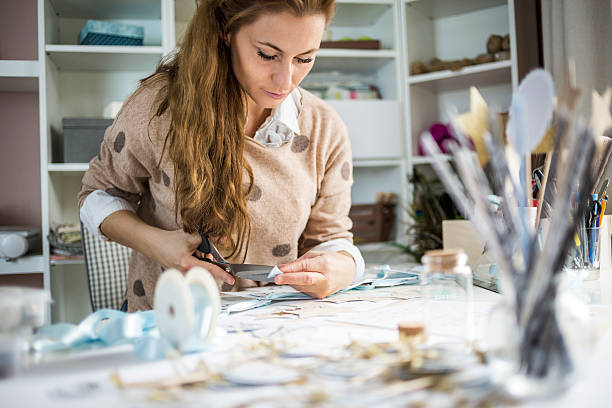
Step 1: Declutter Before You Organize
Before you dive into bins and baskets, take a good look at what you already own. One of the biggest mistakes people make is organizing everything, including items they’ll never use again.
Tips for Decluttering Your Craft Room:
- Toss or donate dried-out markers, scrap paper, and duplicate tools.
- Let go of supplies from past hobbies you no longer pursue.
- Create a donation box for local schools or art programs.
This first step is key for effective craft room organization—you’re creating a blank slate so your storage solutions actually work.
Step 2: Group Similar Supplies Together
After decluttering, group your remaining items into categories. You might have:
- Paper and cardstock
- Paints and brushes
- Stickers and embellishments
- Yarn and knitting tools
- Sewing patterns and fabric
- Cricut and vinyl materials
Categorizing your tools and supplies is the foundation of successful craft room organization. Once everything has a “home,” you’ll spend less time searching and more time crafting.
Step 3: Invest in Clear Storage Bins
One of the simplest ways to elevate your craft room is by using clear, labeled storage bins. These make it easy to see what’s inside without opening every box.
Pro Tip:
Use uniform containers for a clean, cohesive look. Stackable bins save shelf space and keep everything tidy.
Don’t forget labels! Even if your bins are see-through, labeled containers make craft room organization more efficient and less confusing.
Step 4: Take It Vertical
Not enough desk or floor space? Go vertical. Walls are a goldmine for storage potential.
Try These Vertical Storage Ideas:
- Pegboards: Great for hanging scissors, tape, paintbrushes, and more.
- Floating Shelves: Store bins, books, or small boxes of supplies.
- Wall Grids or Racks: Perfect for washi tape, ribbon, or small containers.
Wall-mounted storage keeps tools off your desk and gives your room a boutique-style vibe while supporting top-notch craft room organization.
Step 5: Maximize Drawer Space
Drawers are often underutilized. Use drawer dividers, small baskets, or repurposed kitchen organizers to sort small items like beads, thread, or pens.
Label each drawer by category so you can instantly find what you’re looking for without digging. This is especially helpful if you share your craft room with kids or family members.
Step 6: Set Up Creative Zones
Breaking your room into “zones” helps you stay organized and focused. It also supports a better flow when working on multi-step projects.
Example Zones:
- Cutting & Measuring Zone: Includes your cutting mats, rulers, and Cricut tools.
- Sewing Zone: Sewing machine, thread, needles, and patterns.
- Painting Zone: Paints, brushes, easel, and palettes.
- Storage Zone: All your bins, labeled and stacked.
Zone planning is a smart craft room organization strategy for any size space.
Step 7: Use a Rolling Cart for Daily Supplies
A rolling cart is a crafter’s best friend. It’s mobile, compact, and can hold your most-used tools.
Use it as:
- A mobile Cricut station
- A painting supply cart
- A portable storage solution for ongoing projects
Best of all, you can tuck it away when you’re done to keep your workspace clutter-free.
Step 8: Think Outside the Box (Literally)
Craft room organization doesn’t have to be expensive. Repurpose household items like:
- Spice racks for glitter and buttons
- Ice cube trays for beads
- Over-the-door shoe organizers for yarn
- Glass jars for markers, brushes, or fabric scraps
DIY solutions are budget-friendly and add a personal touch to your craft space.
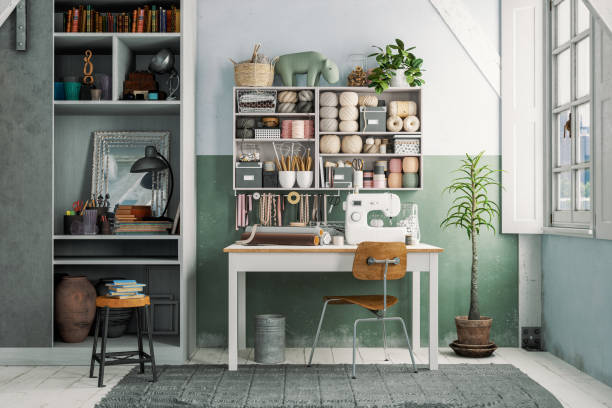
Step 9: Customize Furniture to Fit Your Workflow
Instead of buying standard desks or tables, consider furniture tailored to your specific craft. For example:
- Use a kitchen island or butcher block table as a craft station.
- Install cubbies or drawers beneath your worktable.
- Choose a desk with shelves or side compartments.
Custom furniture pieces ensure your craft room organization reflects how you work—not just how it looks.
Step 10: Maintain with a Weekly Reset
Organization isn’t a one-time task—it’s an ongoing habit. Spend 10–15 minutes at the end of each week to reset your space:
- Put supplies back in their bins
- Clear your desk
- Re-label if needed
- Toss scraps or empty bottles
This small habit helps you maintain your craft room organization and keeps the space functional and inviting.
Bonus Tips for Small Craft Rooms
Don’t have a full room? No problem. These tips also work for compact spaces:
- Use fold-down tables
- Store bins under beds or in closets
- Hang pegboards on closet doors
- Use a corner nook or hallway wall creatively
Great craft room organization is about smart planning—not square footage.
Link to Related Post
Want even more ideas? Check out our post on “7 Ways Beautiful Sheer Curtains Can Transform Your Space” to add charm and privacy to your creative corner.
Final Thoughts
No matter your space or budget, craft room organization is the key to unlocking your creative potential. By decluttering, categorizing, and using clever storage solutions, you can build a room that works as hard as you do. It’s not just about tidiness—it’s about creating a space that supports your passion and helps you stay inspired.
So go ahead—grab those bins, label your drawers, and make your space the creative haven you’ve always dreamed of.